Product images can either keep or avert your potential customers from your shop. Images are most often the best shortcut in reviewing a product at glance. It speaks more than the descriptive text, and it builds trust and loyalty with customers.
Product Photography 101
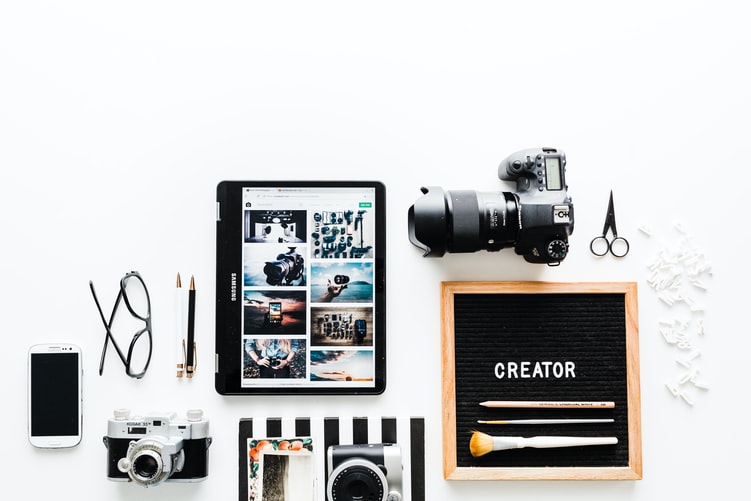
Product photography is part of the marketing game. This practice takes mouses certain techniques in effectively showcasing products. The goal, for instance, is to present the product appealingly and enticingly.
Besides, the product photography is essential in any facet of marketing. Both online and offline marketing call for effective product images. Brochures, magazine ads, billboards, company websites, and online ads, for instance. All calls for effective product photography. Or otherwise, competition is calling for defeat.
Two Main Types of E-Commerce Product Photography
In e-commerce, there are basically two types of presenting product images.
Product-Only Images
- Usually shot on a white background that makes your product stand-out
- Aims to show your product in the best lighting and in multiple angles when possible
Lifestyle or Context Images
- These images tell a story about the product. It shows how a product is best used or where it fits the most.
- Mostly used for social media commerce like Facebook, Instagram, and Pinterest
Tips on Shooting Product Images on a Budget
Outsourcing professional photography services can be costly. So we have compiled a list of tips to help you do the photography on your own.
1. Choose the product and the type of photography that best fits it
As mentioned, we have two types of photography in e-commerce. So which one best suits your brand depends on your needs.
Whichever applies to you, it is important to choose a good background. By doing so, you are simplifying the whole editing process afterward.
When shooting product-only images, it is best to shoot on a white background. Perhaps you can choose between two options:
- Shooting table
- A light tent
2. Get the best and right lighting
A factor that brings out the best in any photography, is the lighting. However, setting up lighting can be tedious. But getting it right can also simplify the whole editing process.
You can either have two options for this:
- Natural light (from sunlight or from the light coming out of your window)- best for those on a budget
- Studio light- may cost you a bit but allows you to have more control over the entire shooting game
3. Use a tripod
Using tripods can prevent shooting blurry images. It helps bring out consistency and focus in what you are shooting.
4. Use the right camera
Great mobile phones will do for product photography. Sometimes it even surpasses what a DSLR camera can capture. As long as you have the right lighting and background, phone photography will do.
On the other hand, using DSLR for shooting is also another best way of shooting premium images. Perhaps the following tips can help:
- Avoid using a wide-angle lens
- Set the right aperture
- Use the exact while balance as your lights
5. Post-processing of images
Editing your images is vital for a more polished look. It can help you adjust the brightness, saturation, lighting, and clarity. In more advanced settings, you can even adjust the background and blur it out.
Here are some free editing applications:
- Pixlr
- Canva
- Snapseed
- Adobe Lightroom